This guide is intended to help you use InDesign to lay out books to prepare them for publication. If you are self-publishing a novel using a service such as Kindle Direct Publishing, this is an important step to make your book look professional and print-ready.
Before laying out your document, make sure you know which size paper your book will use. Some common dimensions for novels include 6” × 9”, 5.5” × 8.5”, 5.25” × 8, and 5” × 7”.
Setting up your InDesign document
- To get started, launch InDesign and select New File.
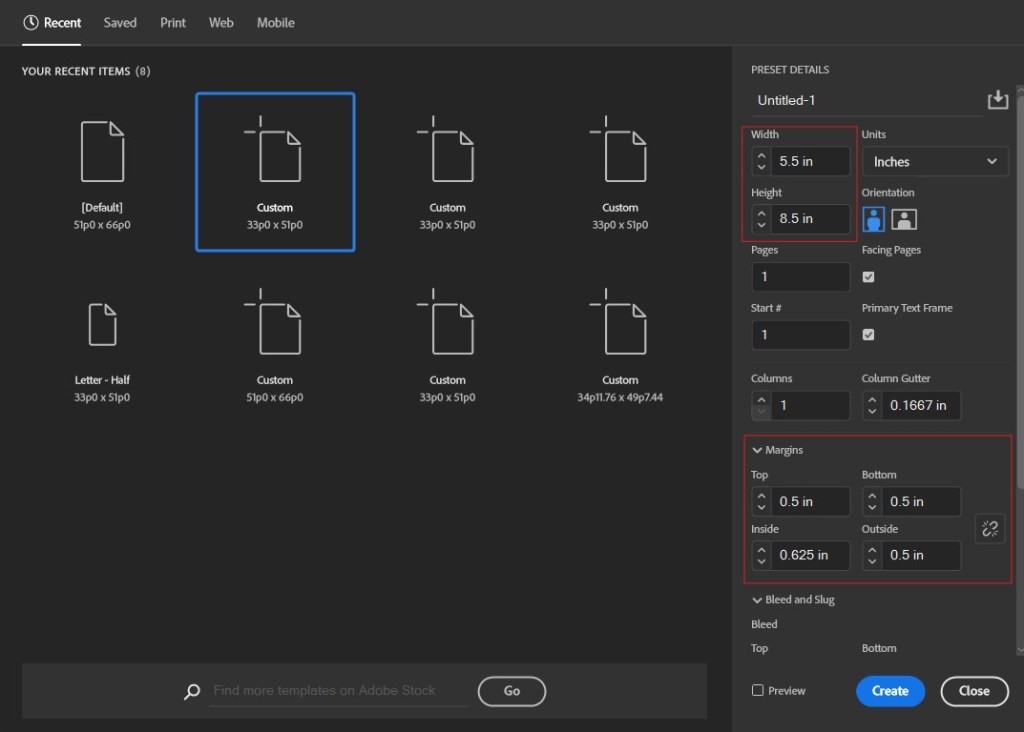
- In the Preset Details column, set the width and height to the dimensions of your novel.
- Under the Margins drop-down menu, select the Link/Unlink
 button to unlink the page margins. For now, set the Top, Bottom, and Outside margins to 0.5 in. Set the Inside margins to 0.625 to allow room for page binding. These page margins can be altered in the future if needed.
 - Click Create.
Creating parent pages
Parent pages will allow you to easily create and apply a template for the starting pages of each chapter, as well as the body of your novel.
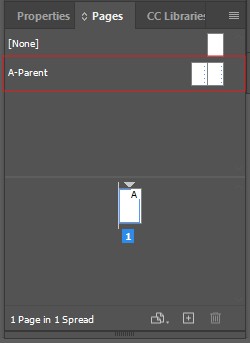
- Open the Pages panel by navigating to Window > Pages, or by pressing F12.
- In the Pages panel, double-click A-Parent. This parent page will automatically contain text boxes within the margins of your document.
- Now, we will add page numbers to the parent page. Using the Type
 tool, click and drag in the bottom left corner to create a text box for the page numbers. Make sure to leave enough space for larger numbers.
 - With the text box selected, navigate to Type > Insert Special Character > Markers > Current Page Number, or press Ctrl + Alt + Shift + N. This will add an “A” to the text box, signifying that you on the page A-Parent.
- Make a copy of the page number and position it on the opposite (right-hand) page. Select the right-hand page number and navigate to the Properties panel. Select Align right
 .
. - If desired, select the body text boxes and page numbers in A-Parent to change their font. Setting a font or Paragraph Style in the parent page will ensure it will apply to the entire book. If you would like to add anything else, such as a title at the top of each page, these details can also be added now.
- Navigate to the Pages panel. Right-click A-Parent and select Duplicate Parent Spread “A-Parent”. This will create a second parent page, called B-Parent.
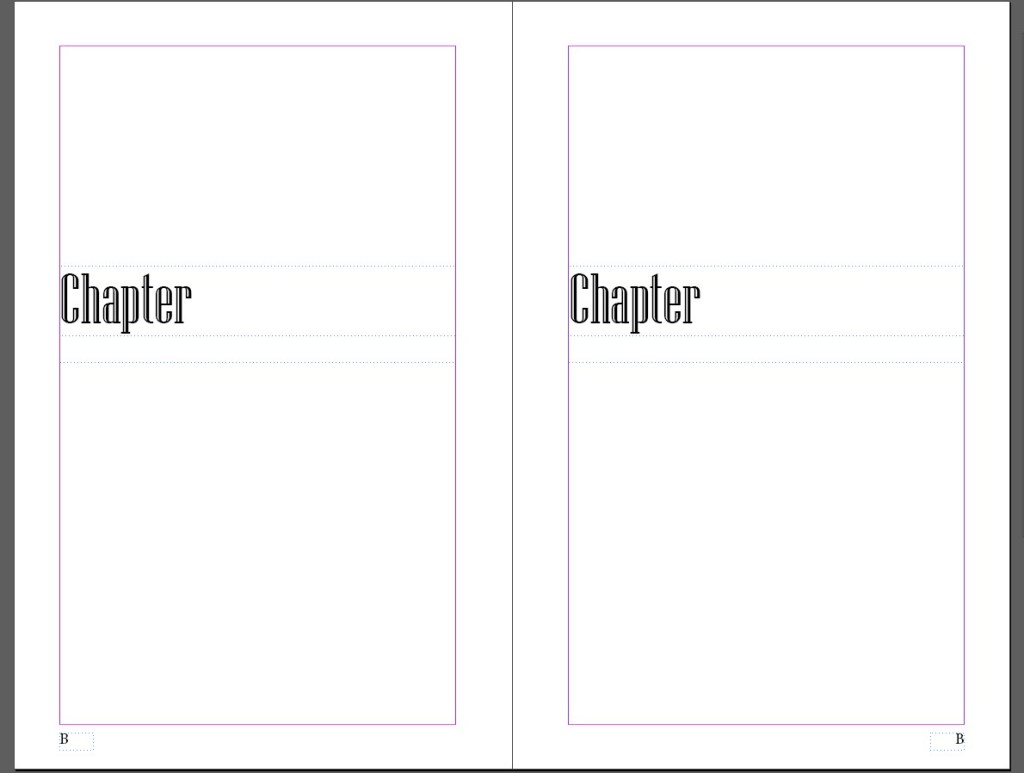
- In the Pages panel, double-click B-Parent. This will be used for the layout of the start of each chapter.
- In B-Parent, resize the body text boxes so that they take up the bottom half of the page. Then, above the body text boxes, use the Text tool to create a new text box for the chapter heading. Type “Chapter” in this text box as a placeholder.
- If desired, change the font and font size for the chapter heading text box. This will ensure it is differentiated from the body text.
- Copy the chapter heading text box and paste it in place on the opposite page.
Laying Out the Text of Your Book
Now that your parent pages are set up, you can begin laying out your first chapter.
- In the Pages panel, double-click page 1 to exit out of the parent page. A-Parent is automatically applied to this page, and the page number is now visible.
- Select the text box on page 1 and paste the first chapter of your book into it. InDesign will automatically add the correct amount of pages to your document, and A-Parent will be applied to all pages.
- In the Pages panel, click and drag B-Parent onto page 1 to apply it to the start of the chapter.
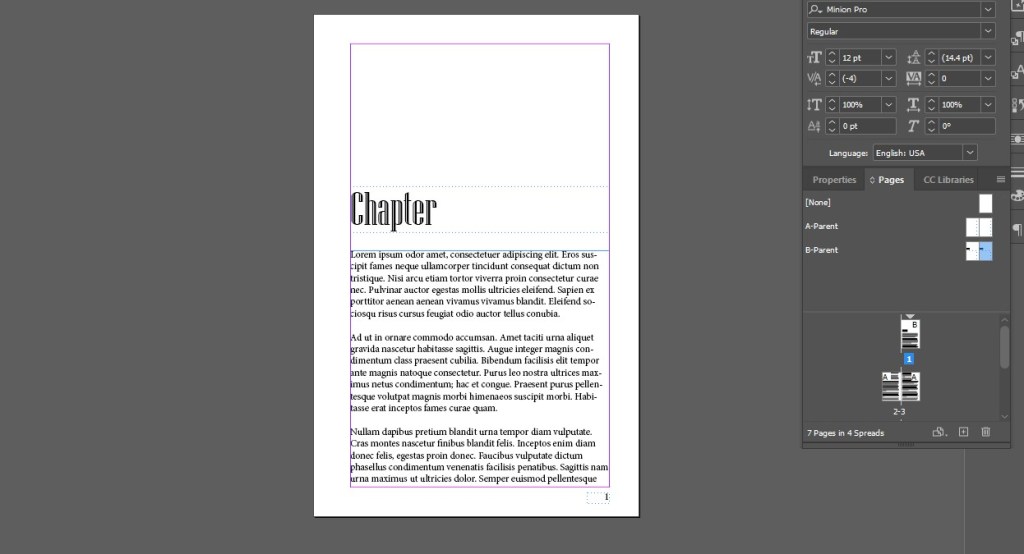
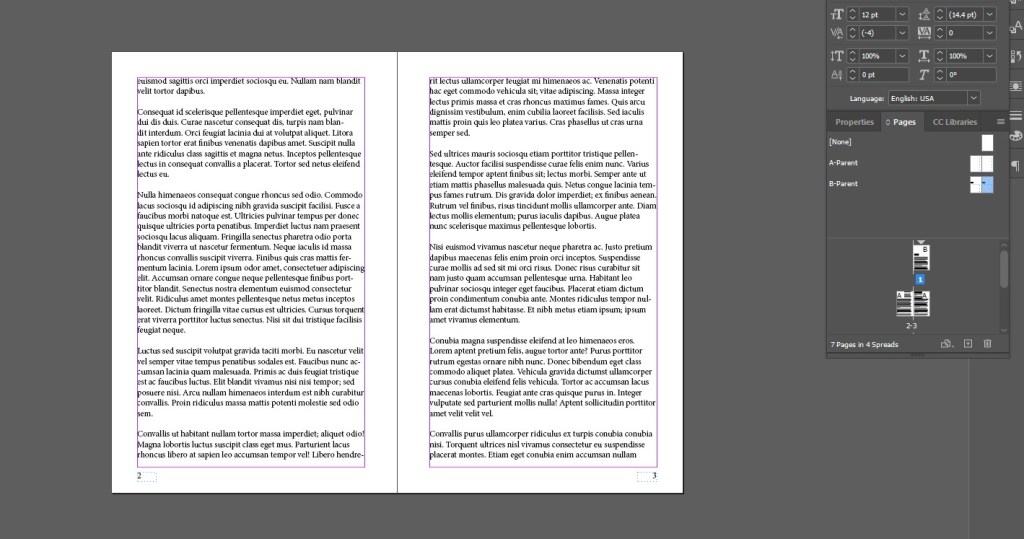
- Press Ctrl + Shift + Left Click to select and edit the chapter heading text box. Change the text to “Chapter 1”.
Creating an InDesign Book
We will repeat this process for each chapter, but before doing that, let’s first create our book. This book will act as a container for the chapters, allowing you to easily view, reorganize, access, and edit all the chapters.
Before getting started, make sure to have a folder prepared where you can store all chapters, as well as the book file.
- Save your document as Chapter1.indd.
- Navigate to File > New > Book. Name and save the book in the same folder as Chapter1.indd.
- Now, the Book panel will open in InDesign, displaying the empty book. Click the
 button, then navigate to Chapter1.indd and select Open.
 - Chapter1 is now displayed in the Book panel. To begin laying out your next chapter, change the chapter heading to Chapter 2 and replace the body text with Chapter 2’s body text. Be sure to delete any extra pages at the end of the chapter.
- Save this document as Chapter2.indd in the same folder.
- Click the button, then navigate to Chapter2.indd and select Open.
- Repeat this process until you have laid out your entire book.
Once your book is laid out, you may want to add additional pages before the first chapter for the title, copyright information, and other information. This can be carried out by adding an additional document before Chapter 1 and removing parent page elements, if needed.
Printing Your Book to PDF
If you are using Kindle Direct Publishing or other online publishing resources, you will most likely need to upload a print-ready PDF of your book.
- In the Book panel, select all of your chapters.
- Select the Print icon.

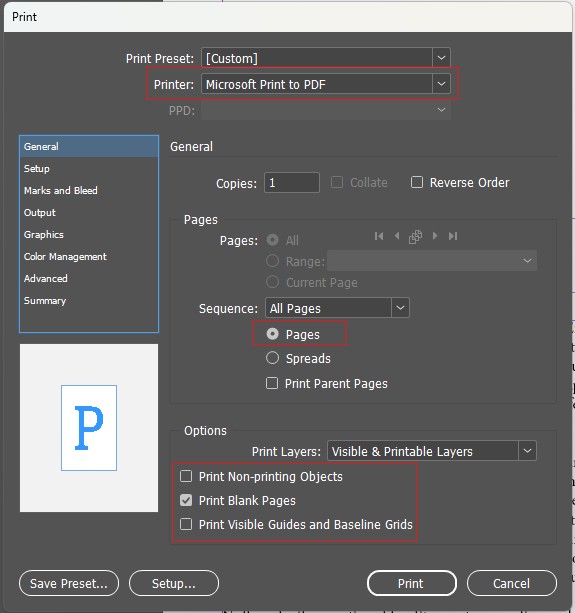
- In the Print window, in the General tab, ensure the following selections are made:
- In the Setup tab, click the paper size dropdown and select the paper size that matches the size of your book. In this example, we have selected Statement, which has dimensions of 5.5” × 8.5”. Make sure the paper selection is the same as the dimensions of your InDesign document, or your book will print incorrectly.
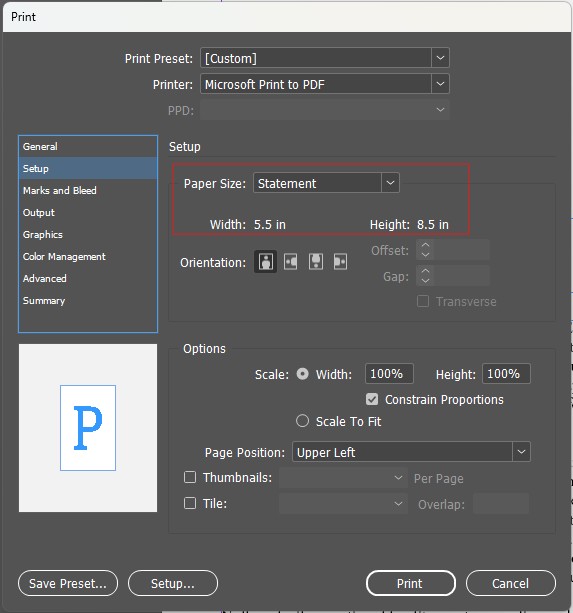
- Select Print.
It may take a few minutes to print your document. Once it is printed, make sure you check the document for formatting errors such as missing blank pages, incorrect page numbers, or orphaned text.

Leave a comment